Customized Coffee Mugs: DIY With Sharpie


*This post may contain affiliate links. As an Amazon Associate we earn from qualifying purchases.

Everyone has their own unique coffee cup that they like to use every single day. That same cup goes through the same routine with you every sip of every morning. Unique coffee mugs just help make your coffee drinking a little more enjoyable when you have that cool cup to do it with. Some people even collect them, because picking one favorite is just too hard. Our coffee mugs can show a lot about us. They can show where we may have been around the world, our favorite sayings, animals, our hobbies and much more. You can pretty much put whatever you could ever imagine onto a coffee mug. Customizing a coffee mug will make your coffee mug really personal. Customizing coffee mugs make a great personal gift for a friend. Your morning cup of coffee can say a lot more about us then we could of every thought, all because of a unique coffee cup.

Don’t Even Think About It Funny Glass Coffee Mug for Mornings, 13 oz– $18.95

Vendor 99101 Star Wars Storm Trooper Sculpted Ceramic Mug, White/Black– $14.97


BigMouth Inc Toilet Mug– $12.99

DIY Sharpie Mug Designing

 Want to get really creative and instead of even ordering a customized mug off of a website where you could personalize a cup? Step it up a little and customize your own cup right at your home! This may not look as professionally done, but it will add the sweet personal touch. If it is a gift or something fun to just do it will come out exactly how you want it.

Buy a mug

 First things first is that you are going to need to buy a mug to decorate. You just want to get plain white so you can obviously see what you are trying to put onto it. Make sure your mug is glass! You want nothing to catch on fire, or this will not end very well. If you just want one mug and not a whole set I would check your local dollar stores and Walmart’s.
Screen Shot 2016-03-07 at 3.31.00 PM

Choose your sharpies
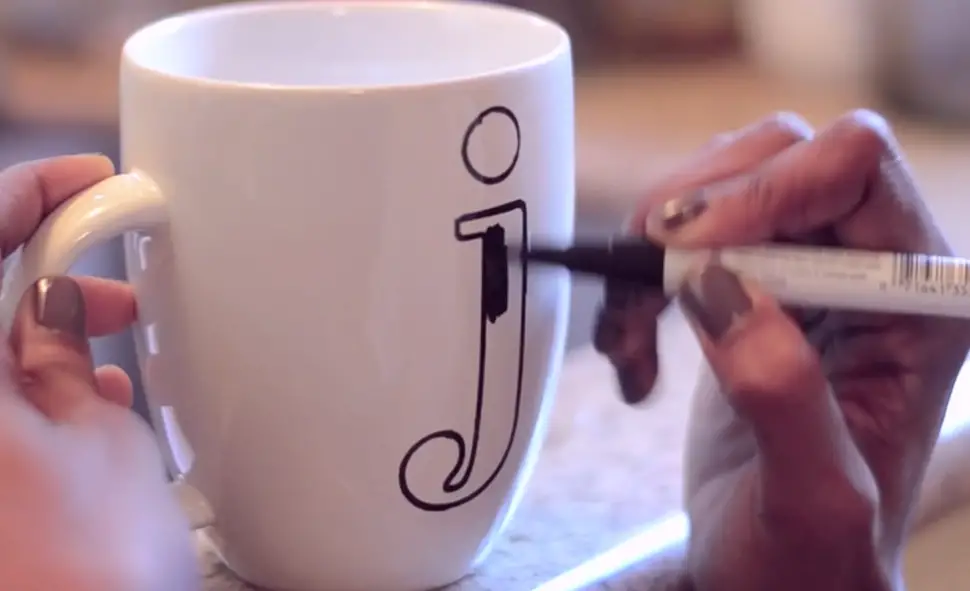
 To back sure you get the best results out of your decorating, the oil based paint Sharpie markers seem to work the best. They will give you the longest lasting results. Picking the colors is the fun part and enterally up to you! Get creative. The amount of colors is completely up to you. Use multiple or just one solid color. I personally think if you are writing a saying, then black Sharpie looks the sharpest up against the white mug.

Draw

After you have your Sharpies picked out you can then begin to draw. Before you do start drawing directly on the mug, rub off the surface with alcohol. I suggest that you practice what you plan putting on your cup before you apply the sharpie directly to the mug. If you mess up when you apply the sharpie to the mug, do not panic. This is a DIY so if it does not turn out exactly how you pictured it in your head it is okay. You made it personable. Try you best and remember have fun, you are not an artist. Messing up is okay.
Screen Shot 2016-03-07 at 3.29.43 PM

Let it dry

Let your mug dry out for a little. This is more of a two day project. You want to be on the safe side and let your mug sit overnight just to be one hundred percent sure that your Sharpie is completely dry on your mug.

Bake it

Now it is time to put it in the oven. Bake the mug at 350 degrees Fahrenheit for 30 minutes. To really get the Sharpie to soak in, you could put it back in again for 30 minutes after the first time if you wanted. You want to make sure you put the mug into the oven before you even turn it on and to let the mug sit in the oven until the oven is no longer hot. You do this is avoid any cracking.

Screen Shot 2016-03-07 at 3.29.57 PM

Recent Posts