
Table of Contents
How To Make Homemade Coffee Scented Candles, Soaps, and Scrubs
Your favorite mug of coffee isn’t just the best way to spend your mornings. These homemade coffee crafts are a great way to spend your day with your friends, kids or fellow coffee lovers. With these crafts you can bathe and accessorize your home with your favorite coffee flavored scent. Waking up to a shower with a bar of coffee soap might be just as good as having your daily cup of joe.
*This post may contain affiliate links. As an Amazon Associate we earn from qualifying purchases.
Easy Coffee Scrub Recipe
This easy coffee scrub recipe contains only 4 ingredients making it one of the most simple recipes for coffee scrubs. Not just do you get to smell like your favorite cup of java, the benefits of coffee for your skin are impeccable. Use this wonderfully smelling coffee scrub and help decrease the appearance of cellulite at the same time.
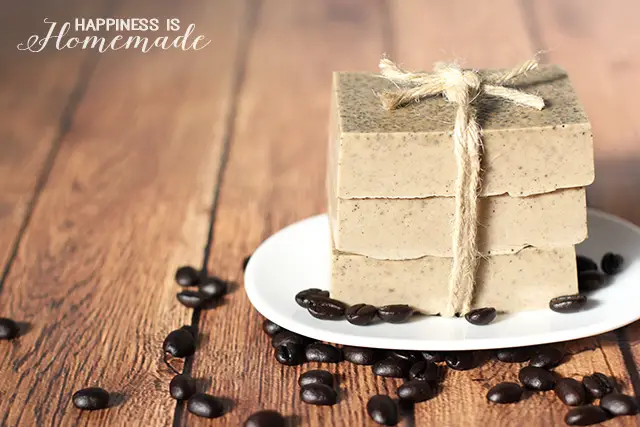
Source: www.happinessishomemade.net
Ingredient List
1. Coffee: 2 tsp’s of ground coffee
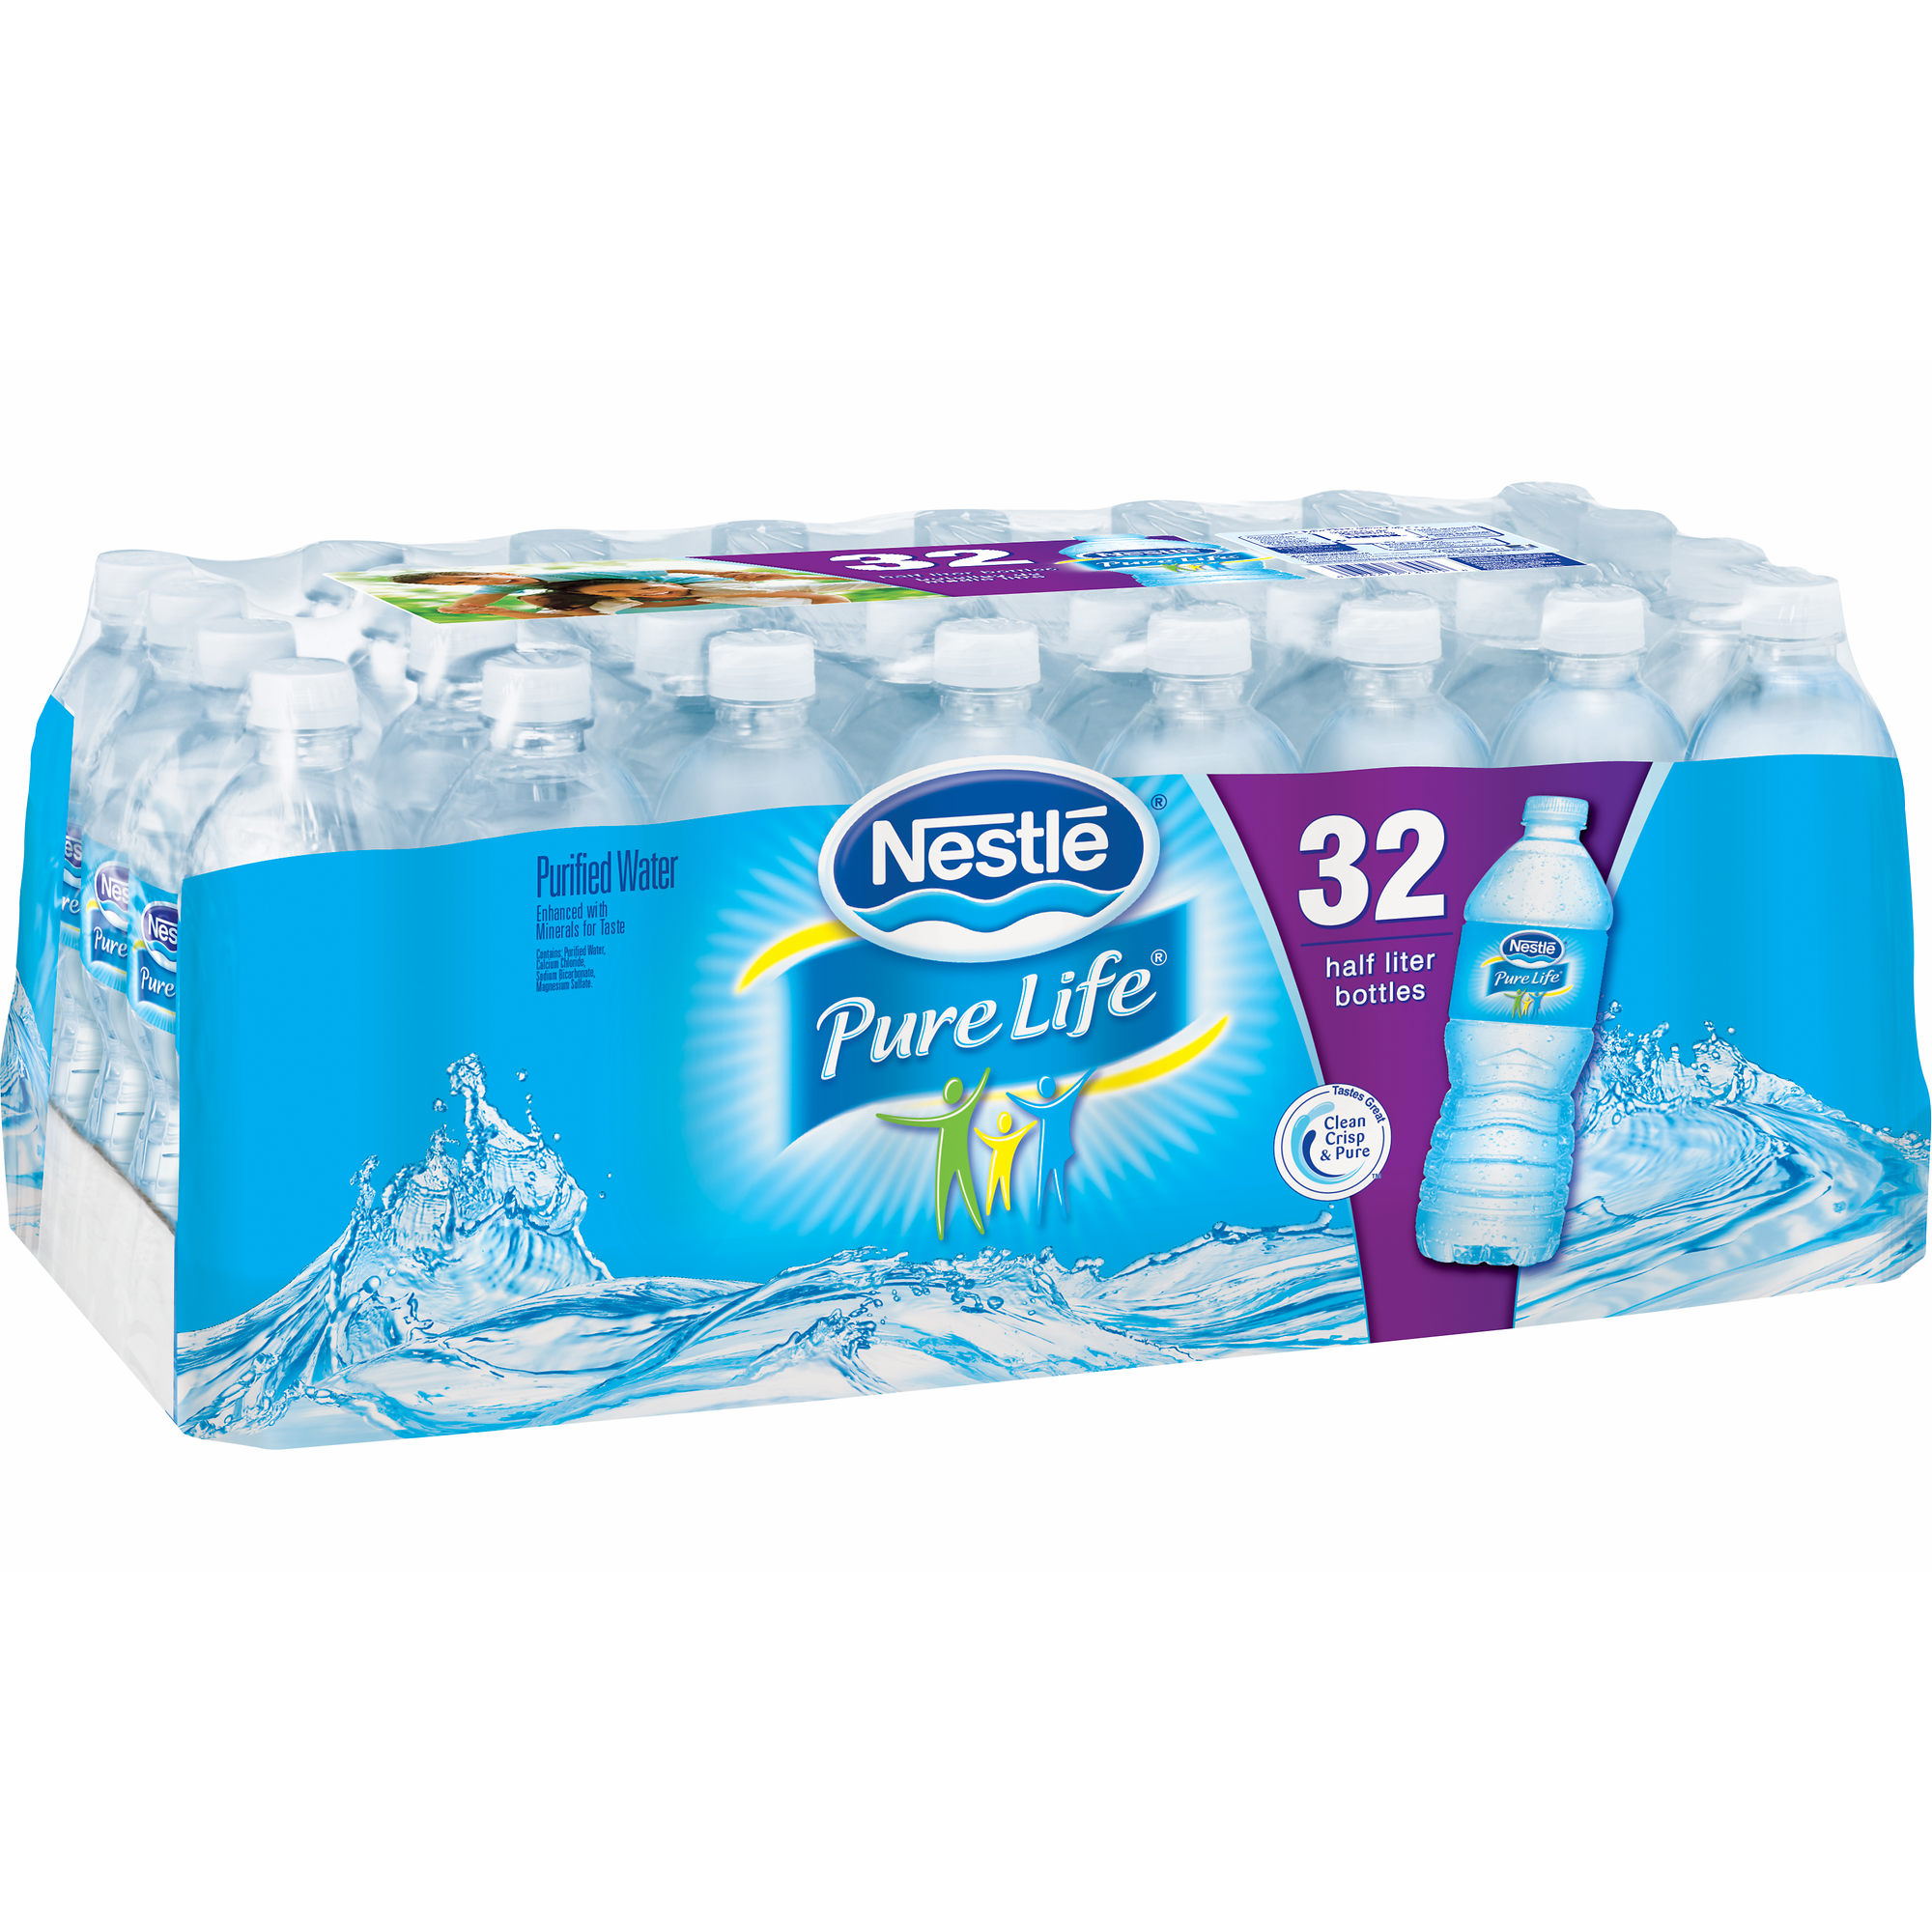
2. Liquid/drinks: 12 oz purified water- any type
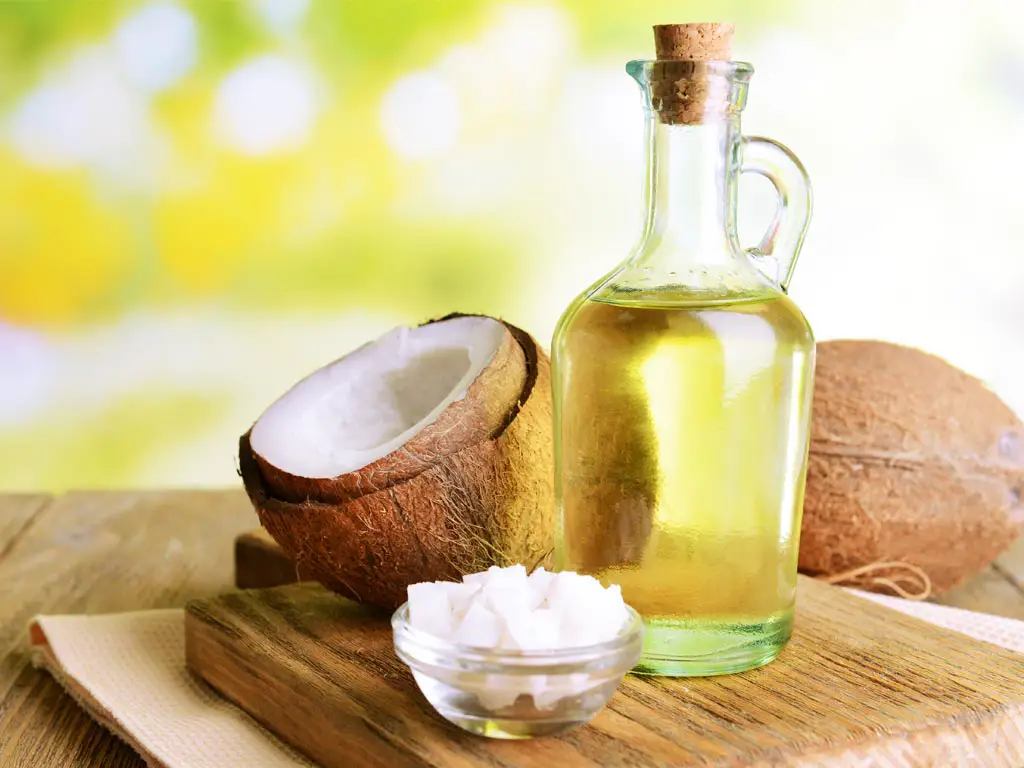
3. Oils: 10 oz coconut oil, 10 oz olive oil, 12 oz soybean oil
Other ingredients: 4 oz lye
What you want to do is mix all these ingredients together in a melting pot, and when it is finished melting, take it off the stove and fill little brownie pans or muffin pans with the liquid material and wait for it to dry and harden. If you want to make your own shapes and carve them yourself, what you can do is either put it in a bigger open pan so the whole thing can harden as one, or put it in a bowl to harden. Depending on the density of your soap mixture, it will take a long time to harden. The wait is certainly worth the work because the homemade, cheap soap is more unique than anything you have ever tried to make.Coffee crafts can be very useful, even when you use the bottom end of the grounds.
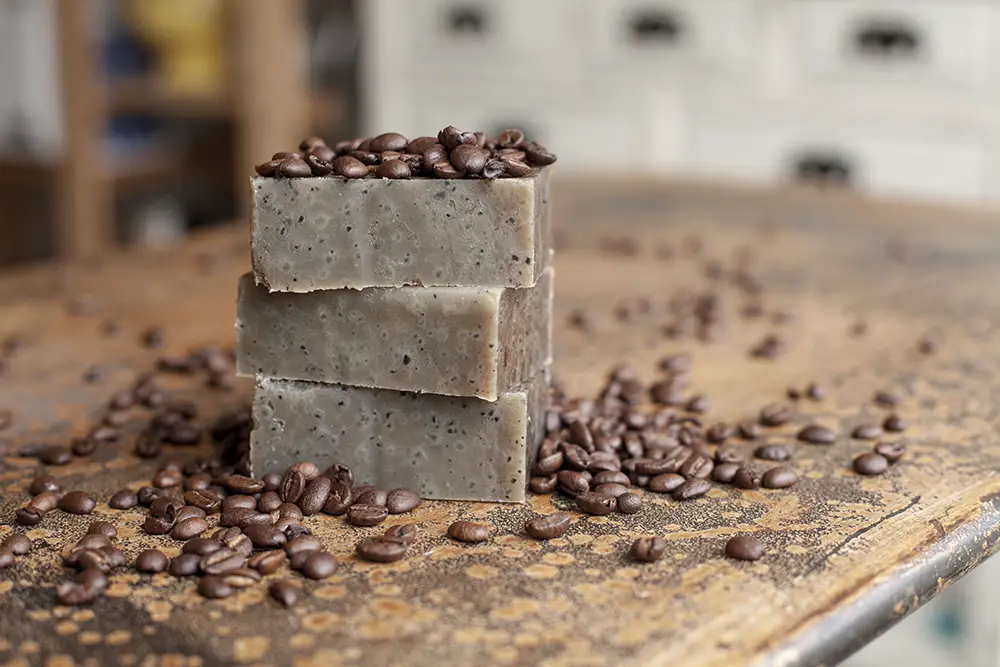
Coffee Soap (Using Used Coffee Grounds)
You know the old coffee grounds that you have already used and your ready to throw out? Do not throw them away! Gather them up little by little every time you drink a pot of coffee and put them to good use. The soap may not look pretty but it is fun to make and very useful to the house. It will look black in color, but that makes it all the more beautiful. This is a very simple and easy recipe that can be passed down to generations to come.
With any old ends of the soap you may have either from your own shower, trips, or hotels, save them up to make this masterpiece and get started as soon as you can!
If you don’t have any old soaps laying around, you can get the bar soaps from the market for a dollar or so a piece. You want to avoid the soaps that are scented for these coffee crafts because the coffee scent and the flavored soaps do not mix well together. You are making this specifically for the coffee flavor and scent, for you coffee loving freaks!
Ingredient List:
- 16 Ounces Glycerin Soap ( from market)
- 1/2 Cup Coffee Grounds (used)
- 2 Teaspoon Vanilla
- 2 Teaspoon Powdered Milk (this ingredient is optional)
- Saucepan
- Small Bowl
- Muffin Tin
- Ladle
- Knife
Directions:
Follow these directions to make the best coffee scented soap out of used coffee grounds.
First, gather up the materials you will need and before you start, you should check the list and make sure you have everything you need. Check the materials to make sure you have a muffin tin, a saucepan, a ladle, and a small bowl. You need these things just as much as you need the ingredients to be able to make the coffee craft. The powdered milk is completely optional. It just gives the soap a little something extra than it would without.
Next, you want to create a so-called double boiler. Fill the saucepan with one cup of water and place the small glass or metal bowl over it with medium heat. Add the bits and pieces of soap to the bowl and let the soap melt. The steam from the saucepan will help the soap melt faster without burning or sticking to the bottom of the saucepan. The soap should be in the small bowl at this point. This step only takes a couple of minutes, averaging about 3-5 minutes depending on the heat of the stove.
You can do the next step while the soap is melting in the bowl. You want to lightly grease the muffin tin so the soap does not stick to the bottom. Put a spoonful of used coffee grounds at the bottom of each muffin holder. The soap in the bowl will soon turn into a liquid, when this happens you want to turn the heat off and add the vanilla. Next you are going to want to add one tablespoon of coffee grounds.
Finally, you can put the liquid into the muffin tins and fill it to the top. It should be brown or black in color so do not be alarmed when your final result looks like charcoal.
You need to allow the soap to cool for about 5 hours depending on where and when you cool it. It can be put in the refrigerator or set out on the counter. Either way, it will harden into one of the coolest coffee crafts ever. Many women make these for their husbands and loved ones for either a fun gift or Christmas.
It is strongly suggested to keep the soap on a tray in the bathroom or wherever you keep it to avoid coffee stains on the sink.

Source: www.popsugar.com
Pictured above is the end result or how your soap should look by the end of the coffee craft making session. Do not be alarmed when it is black! That is how it is meant to look.
How to Make A Coffee Scented Candle In 7 Steps
Step 1:
Gather the materials and ingredients needed to make this creation.
Ingredient List
- Old candles
- Beer Can
- Pot (with handle)
- Teaspoon
- Coffee (ground)
- Container or Tin
- Candle Wicks
Step 2:
Remove anything from the tin that you have gathered for your material list and you have yourself a homemade melting pot. With all of the salvaged old candle wax, put it all into the tin and put it in the pot. The pot should be a little full with water. You need to make sure to save the wicks from the old and used candles! Melt the wax in the melting pot until the wax is liquid!
Step 3:
In step three, melt the wax. Stir every so often to keep the wax from clumping. With the melting pot or the tin, pinch the side of it so one end is pointed and easier to drain.
Step 4:
Add the coffee! You need to use very strong ground coffee, because if it is light, you will not be able to smell the coffee flavor. Add 2 teaspoons into the wax and stir gently. You can leave it boiling so the coffee will dissolve in the wax. Leaving some of it undissolved will make the candle look cooler and add to the overall experience.
Step 5:
Now it’s time to make your candle. Tale the lid of a jar or even a glass jar or small mason jar and fill the container with the wax. the wax is very hot, so you do not want to touch it for any reason whatsoever.
Step 6:
Put the salvaged wicks into the candle before it sets, and make sure that they stay upright and not fall into the mixture completely or it will not work!
Step 7:
Let the candle set and light it up! Enjoy your beautiful coffee scented candle.
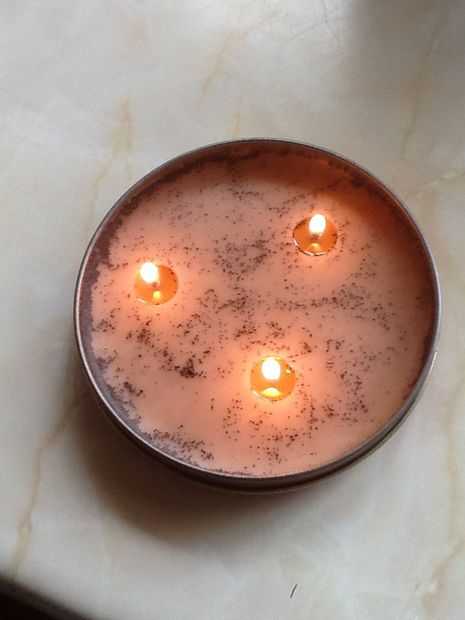
The image above is the how one of the final results should look like! If it does not look exactly like this, that is more than okay. A for effort! This can be classified as a can craft is you want to add it to your collection to try out. Can crafts can range anywhere from easy to hard, at this being somewhere in the middle having an easy concept and very little hard work, this can become one of your favorite coffee can crafts to do at home.
Coffee Filter Crafts for Kids
Coffee Filter Roses (Watercolor)
This is great for the kids who love to paint but don’t know what to paint and where. Some kids love to paint on anything but paper… and if they see you pull out something from the cabinet that only they use, they’re going to want to be all over it. You want a large soft brush to paint the filters with to get the best result. Watercolor paint will work the best with the type of paper your kid will be painting on.
TIP: let the filters dry completely before turning them into roses and flowers.
Follow this video to find out how to make the actual flowers nice and simple. Filter crafts are perfect for kids because of how cheap and easy they are.
Visit http://www.makeandtakes.com/coffee-filter-crafts to see how to make 24 different coffee filter crafts for kids!